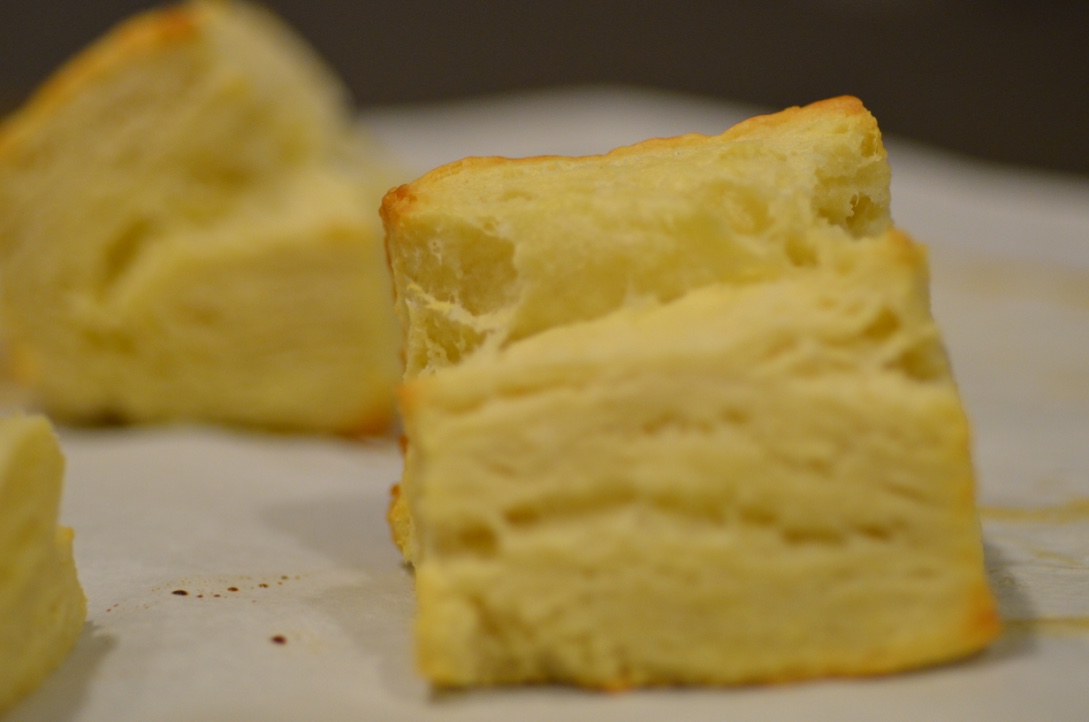
Biscuits. Heavenly vehicles for marmalade and butter.
Buttermilk biscuits with Grapefruit Marmalade
All this preserving and canning has made me hungry. It's time to use up a little of those items that I've put away from a rainy day (because we just don't get rain much here in southern California). Best way to do so...in my book...is with BISCUITS. Baking powder and buttermilk. Butter, butter and a little more butter. All good things.
Big puffy, layered biscuits have taken over the popular food spot recently. People boast having 29 layer biscuits....52 layer biscuits, etc. When I was growing up we had buttermilk biscuits that were plopped down on a pan and rose a bit...but were many shapes and sizes...not really layered. Sometimes people would make the biscuits using cookie cutters (round cutters that have become known as biscuit cutters)...but they weren't very often as fluffy as today's. Both of those are also good.
But now...it's about the layers. It sounds very impressive doesn't it? Layers. Time consuming, I'm sure! Actually...that term refers to the number of times the slab of dough was piled on top of itself and then flattened. Really. It's pretty easy to create 98 layers...if you want to do that sort of thing....but I've found a simple 27 layers is enough for me (or...folding the dough into thirds, three times).
Recipe:
1 1/2 cups flour
1 Tbsp sugar
3 tsp baking powder
1/2 tsp salt
2 oz cold butter (cubed)
1/3 cup buttermilk
1/4 cup whole milk
Measure/weigh the dry ingredients. Place in a food processor and pulse 2-3 times. Add butter cubes to the dry ingredients and pulse 5-10 more times. Check to see that the butter is mixed in and crumbly (see picture below).
Here's a peak at what the dry ingredients should look like after pulsing in the butter...just a little chunky and crumbly.
At this point, if you want to augment your biscuits with a different flavor, now's the time. Want to add some black pepper and rosemary, do so now. Want to add a handful of cheddar cheese and some green onion, now's the time. Want to add more sugar and a little cinnamon? Go for it! You get the idea...before you add the milk, add the seasoning. Personally, I like them plain and since I knew I would have marmalade on them once they were out of the oven, I just left good enough alone.
Everyone knows the trick for creating buttermilk when you don't have any, right? Just add an acid to regular milk. I don't keep a bunch of buttermilk around very often, so when I want to make these, I'll pour just a smidge of vinegar into a measuring cup (in this case, about 1 teaspoon for the 1/3 cup of milk), add the amount of milk the recipe called for and let sit for 5 minutes. Viola! Buttermilk.
This was NOT staged! Even the milk wants to show how much they love biscuits
Once you have your buttermilk and milk ready, pour that into the food processor and give it a few more pulses. You're looking for a crumble texture that's able to hold form. If that doesn't make sense, check out the picture below.
Good texture!
See how the mixture looks crumbly but when pressed lightly against the side of the container, the dough holds it's shape. This is perfect.
Pull out a bit of plastic wrap. For this recipe (as it's written) I normally use a piece that's around 18 inches long. (I often will quadruple the recipe for dinner parties, so that sheet of plastic wrap is much larger.)
Dough turned out onto plastic wrap
Dump the contents of the food processor onto the plastic wrap, dead center if you can. From here, fold up the corners of the plastic wrap and make a "packet". Use your hands to flatten the dough into a rectangle within the packet, about 1/2 of an inch thick.
Packet after being flattened
Once you have a nice rectangle, unfold the plastic wrap and look at how lovely all those chunks of butter are in the dough!
Little bits of buttery goodness.
Its time to start the folding process. Once the dough has been unwrapped, leave it sitting on the plastic wrap. Take one side of the dough and fold it over itself until it's about a one-third folded.
Dough, doubling over itself for the first fold
Then do the same with the second side of dough.
Second fold - look at that butter
And now you have your first three layers. From here, use the plastic wrap to cover the dough, and again, flatten it out into a rectangle. I do this process at least 3 times but feel free to keep going. After the first two folds, I cover the dough and place it back in the refrigerator to stay cold. After half an hour, I pull it out again for any additional folds I want to make.
Once you have all your folds, place the finished dough in the fridge for half an hour. Start the oven (425 degrees) and pull out your pan. If you're going to cut your dough into shapes using a cutter, get the cutters out too. I prefer to simply cut my biscuits into squares...I hate the idea of wasting any of that delicious dough!
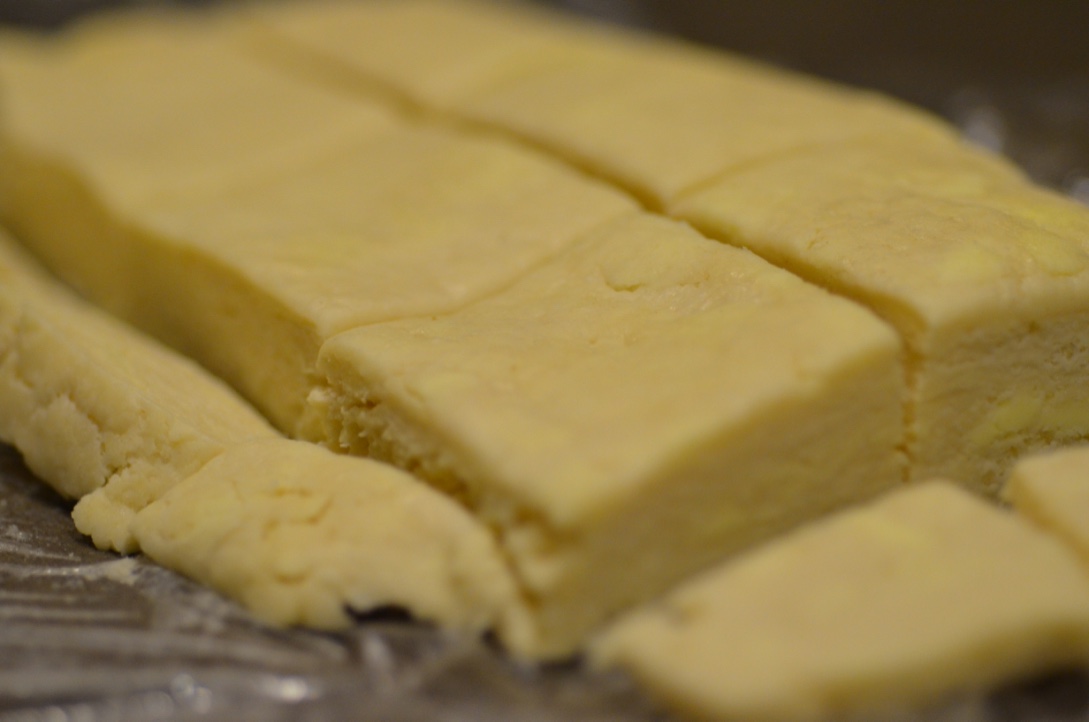
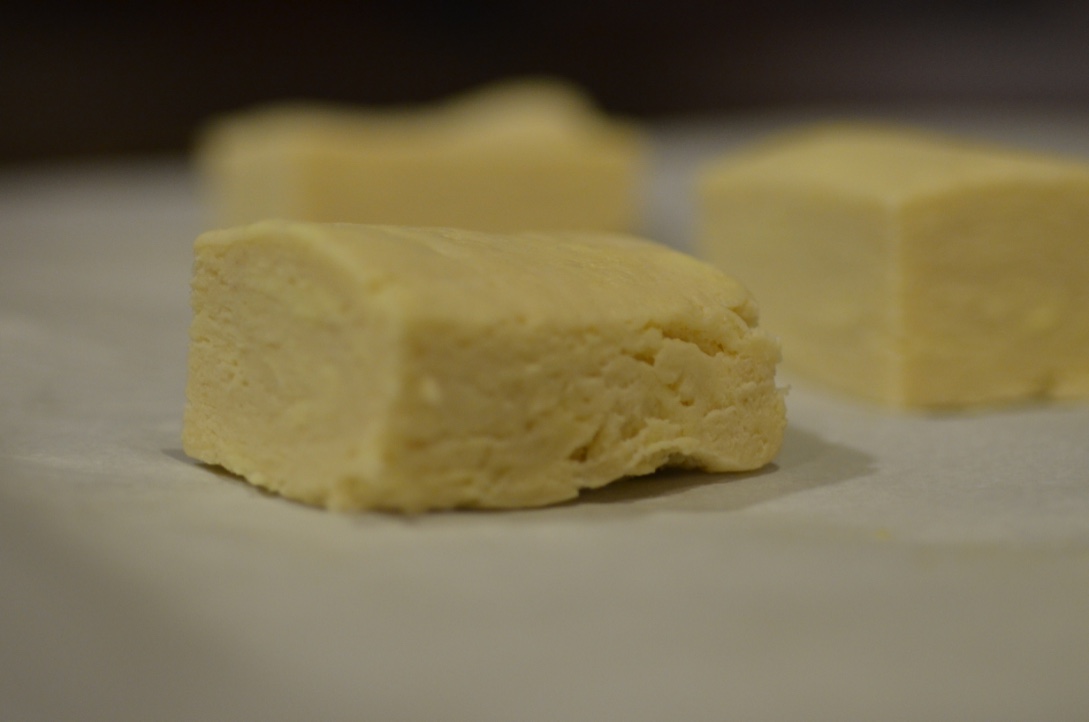
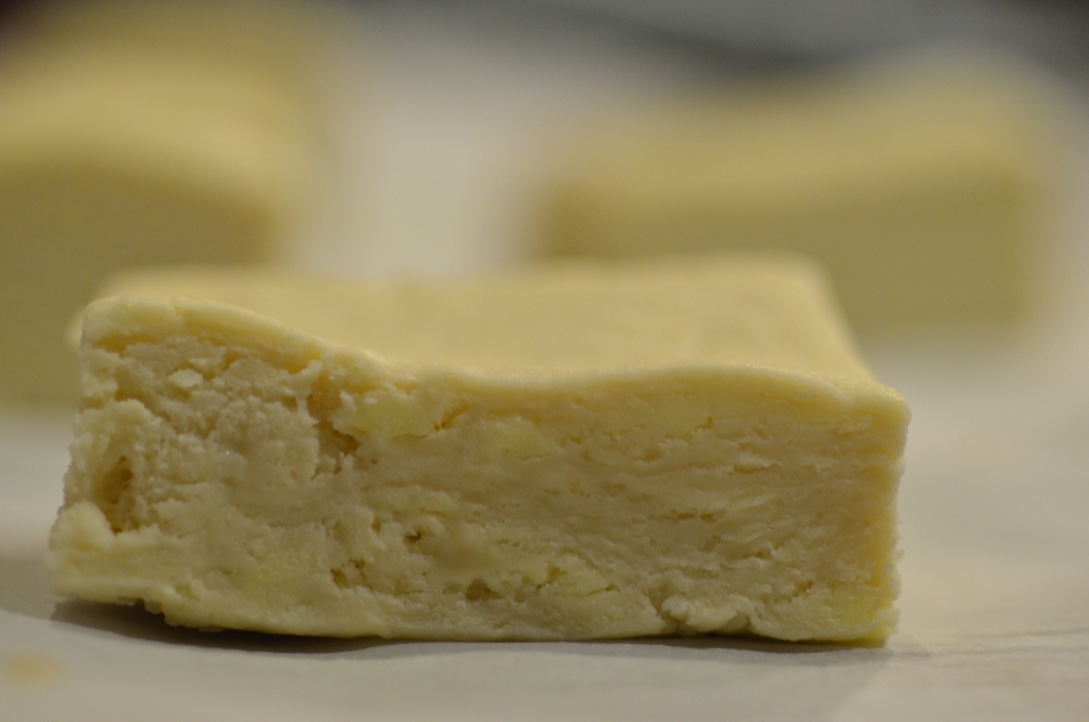
After the dough has chilled for that last half an hour, and the oven is hot, get your dough ready for the pan. Like I said, I prefer to simply cut my dough. In this case, since we're making layered biscuits, I cut off all 4 ends of the dough packet and then cut the remaining dough into squares. Cutting off the ends is important since the ends are smooshed together...while the dough inside is layered. Smooshed dough doesn't rise the same way that layered dough does. If you don' cut off the ends, the biscuits that include the edges will be lopsided (that side won't rise). If you're really in need of using all the dough, feel free to smoosh the remaining dough (after cutting the ends off) and make more biscuits....I've learned to throw that little bit out...they just aren't the same after they've been smooshed. If you are using a cutter, try to make use of as much dough as possible...taking the leftovers and trying to make another round of biscuits makes biscuits that don't rise as well. "SMOOSHED" is a technical term. Really.
If you look at the pictures above, you'll see slight lines where the layers will be. If you look at the scrapes, you'll notice no lines at all, just smooth dough.
If the biscuits have been out of the fridge too long, or it's a hot day...put the whole pan back into the fridge to make them cold. If you have room, put them in the freezer even. The idea is to get that butter COLD. Part of the reason you'll see layers is because each little bit of butter trapped between the layers will push up as the water in the butter's content expands. If the butter is cold, this will happen quickly when exposed to heat and will push the layers up even more...or so the cooking lore goes.
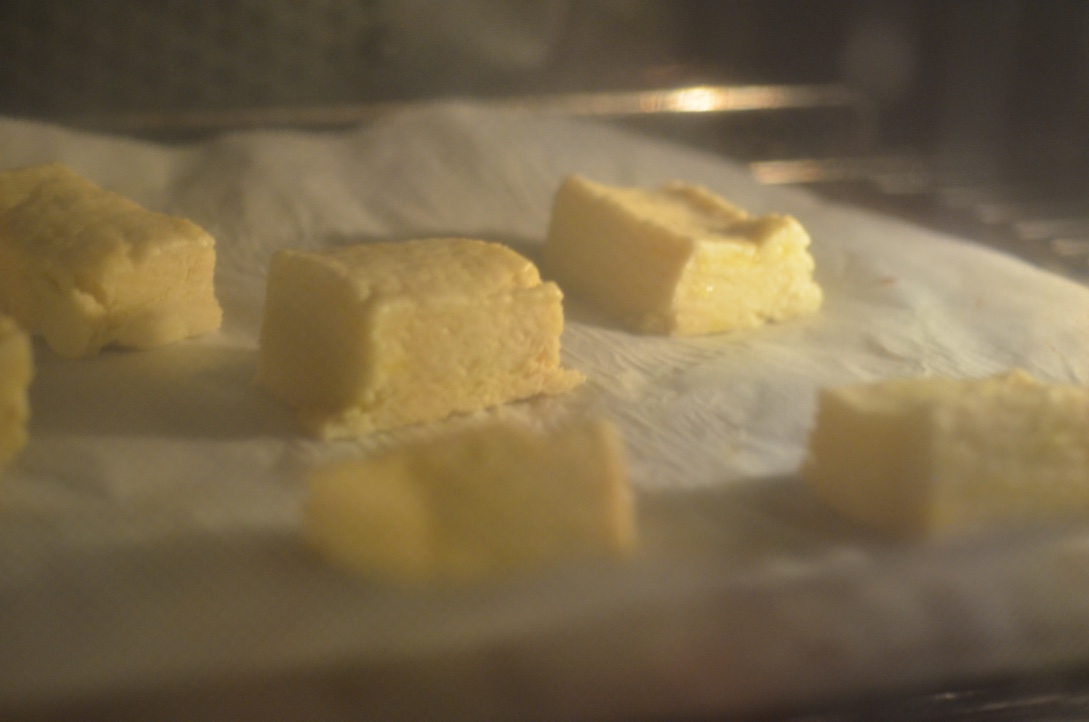
Once the biscuits are ready and cold, throw them into that hot oven and bake for about 10-12 minutes. I keep an eye on them and let the corners get a little golden before I take them out.
And then what you do with them...well, that's entirely up to you. Here's what I did with them!
I like to add butter to my buttery, flakey biscuits...
Once the biscuit is on your plate, how can you resist adding a little jam? I had mine with Grapefruit Marmalade...but a friend found my stash of Blueberry Lime Conserve and dug into it. My husband loves honey poured (not drizzled) onto his. Really...we just made another dessert item, didn't we?
And a schemer of that Grapefruit Marmalade we made earlier in the summer
For dinner parties I'll often add 1/4 cup Parmesan and 5-10 good grinds from my pepper mill to the recipe. I've also been known to add a few tablespoons of fresh rosemary to the mix. This basic recipe is a great jumping off point for making your own concoction. Please let me know what you've created!

